
This is the recipe that launched the successful, albeit brief, run of Sassy Shortbread. It was a fun, short-term project for my business partner and me (Ann-Margaret and I were technically on “sabbatical” from our day jobs!), and we were overwhelmed by the positive reception our line of sweet and savory shortbreads received. Literally. Overwhelmed.
There is no shortage of shortbread recipes, and that’s part of the problem: so many from which to choose. Making shortbread is a perfect example of how technique makes all the difference. With so few ingredients it’s all about technique to achieve my preference for light, crisp and slightly crumbly shortbread, not too sweet and with rich buttery flavor.
I’ve been baking shortbread during the holidays for eons, which contains toasted almonds and vanilla. But we wanted to feature a “classic” version for Sassy Shortbread. The experiments to find the shortbread recipe that met our standards, and our taste testers’, began nearly 12 months in advance of our Holiday 2012 launch.
I tested whether adding corn starch or rice flour to the wheat flour made significant difference. It did. It was close but most preferred the lighter crunch in texture the corn starch provided over flour alone. I tested the temperature and consistency of incorporating the butter, from frozen pieces cut into the flour to completely melted. I tested mixing methods, from food processor to wooden spoon. I tested oven temperatures and baking times. All variables considered, this version prevailed. No question.
So while you will not find Sassy Shortbread on store shelves this holiday season, here is the recipe so you can make it to your heart’s delight. Please read through the entire recipe to capture the overall process in your mind before starting.
The instructions are detailed purposefully so you can achieve the same results we did. I developed this recipe to be easy enough to produce consistent, quality results. Repeatedly. Once you get the swing of it, the batches whip up in a few minutes.
Yes, the recipe doubles nicely, but beyond that I highly recommend making several batches if you need quantities of shortbread. When you try to multiply the recipe too many times to make a gi-normous batch, the result suffers. It’s the chemistry of things. Trust me. I tried.
A few advance tips:
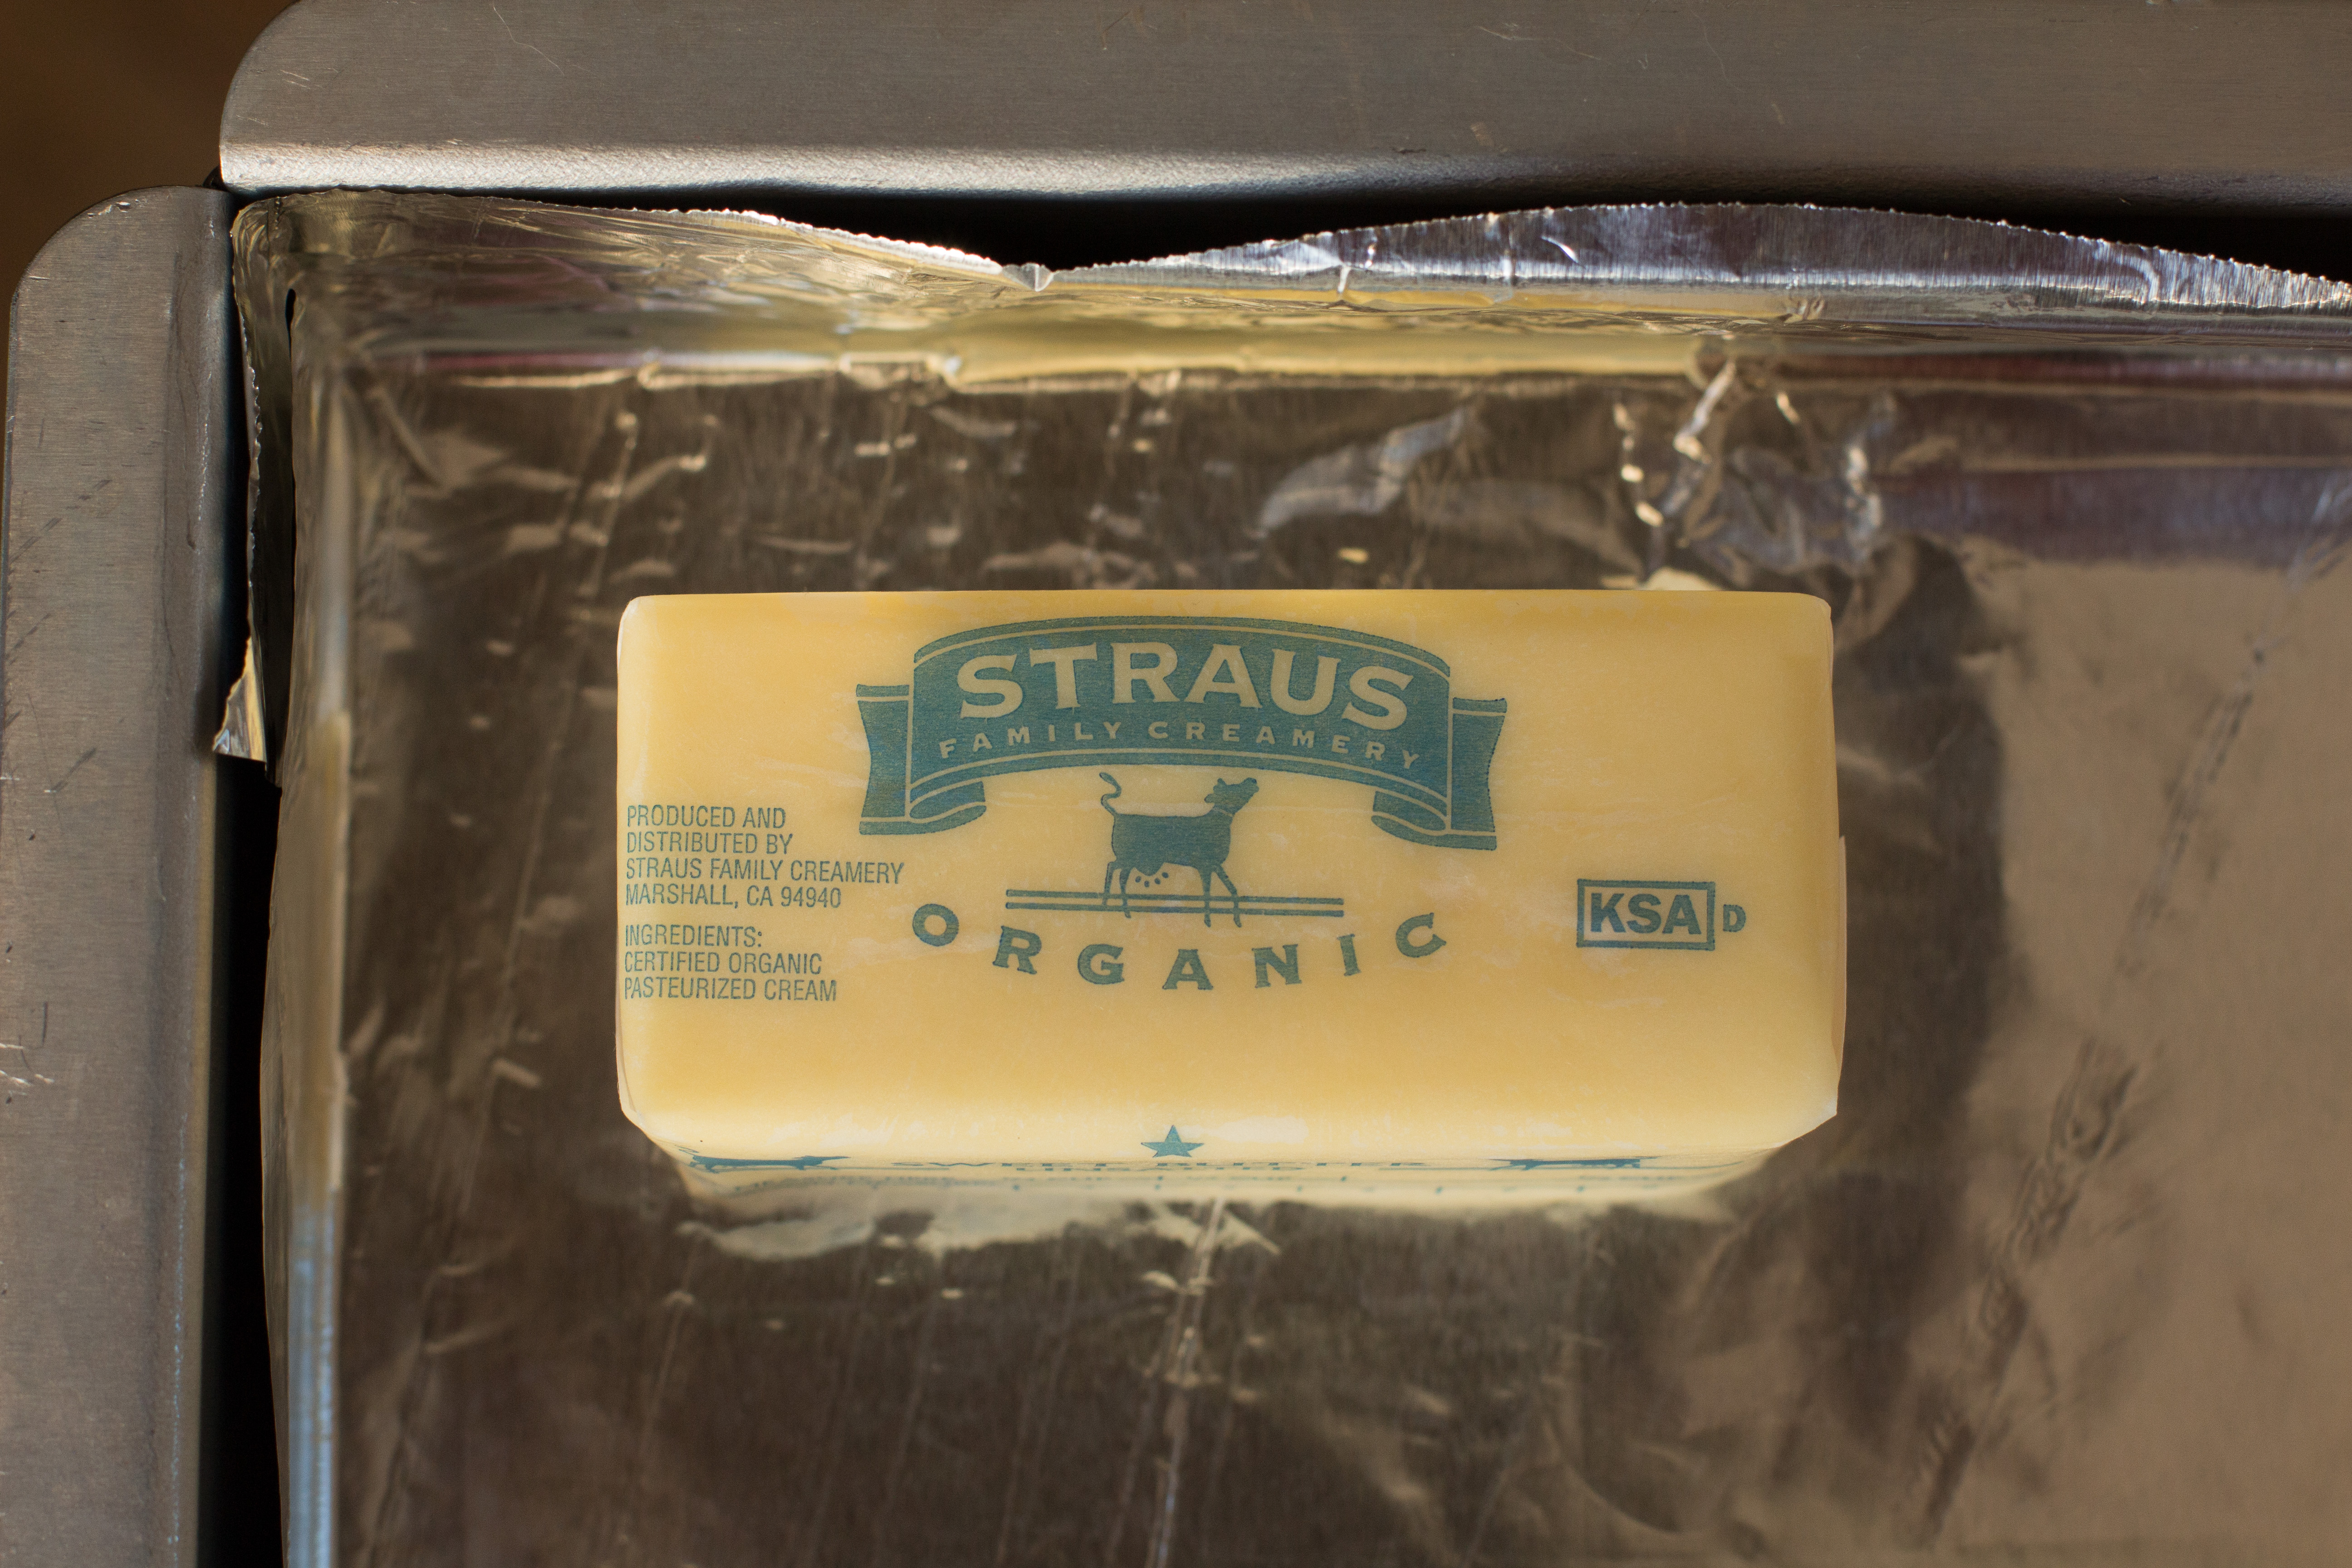
- Be sure to use European-Style butter, which has a higher fat content than regular butter and translates into a lighter shortbread.
- Butter is the flavoring for this shortbread. Purchase the highest quality, best tasting (to you) butter.
- You must begin the recipe with very soft butter to easily incorporate it with the dry ingredients. To expedite softening, place your mixing bowl of butter into the pre-heating oven for about 15 seconds or a few seconds in the microwave to attain the desired consistency, being careful to not melt it completely.
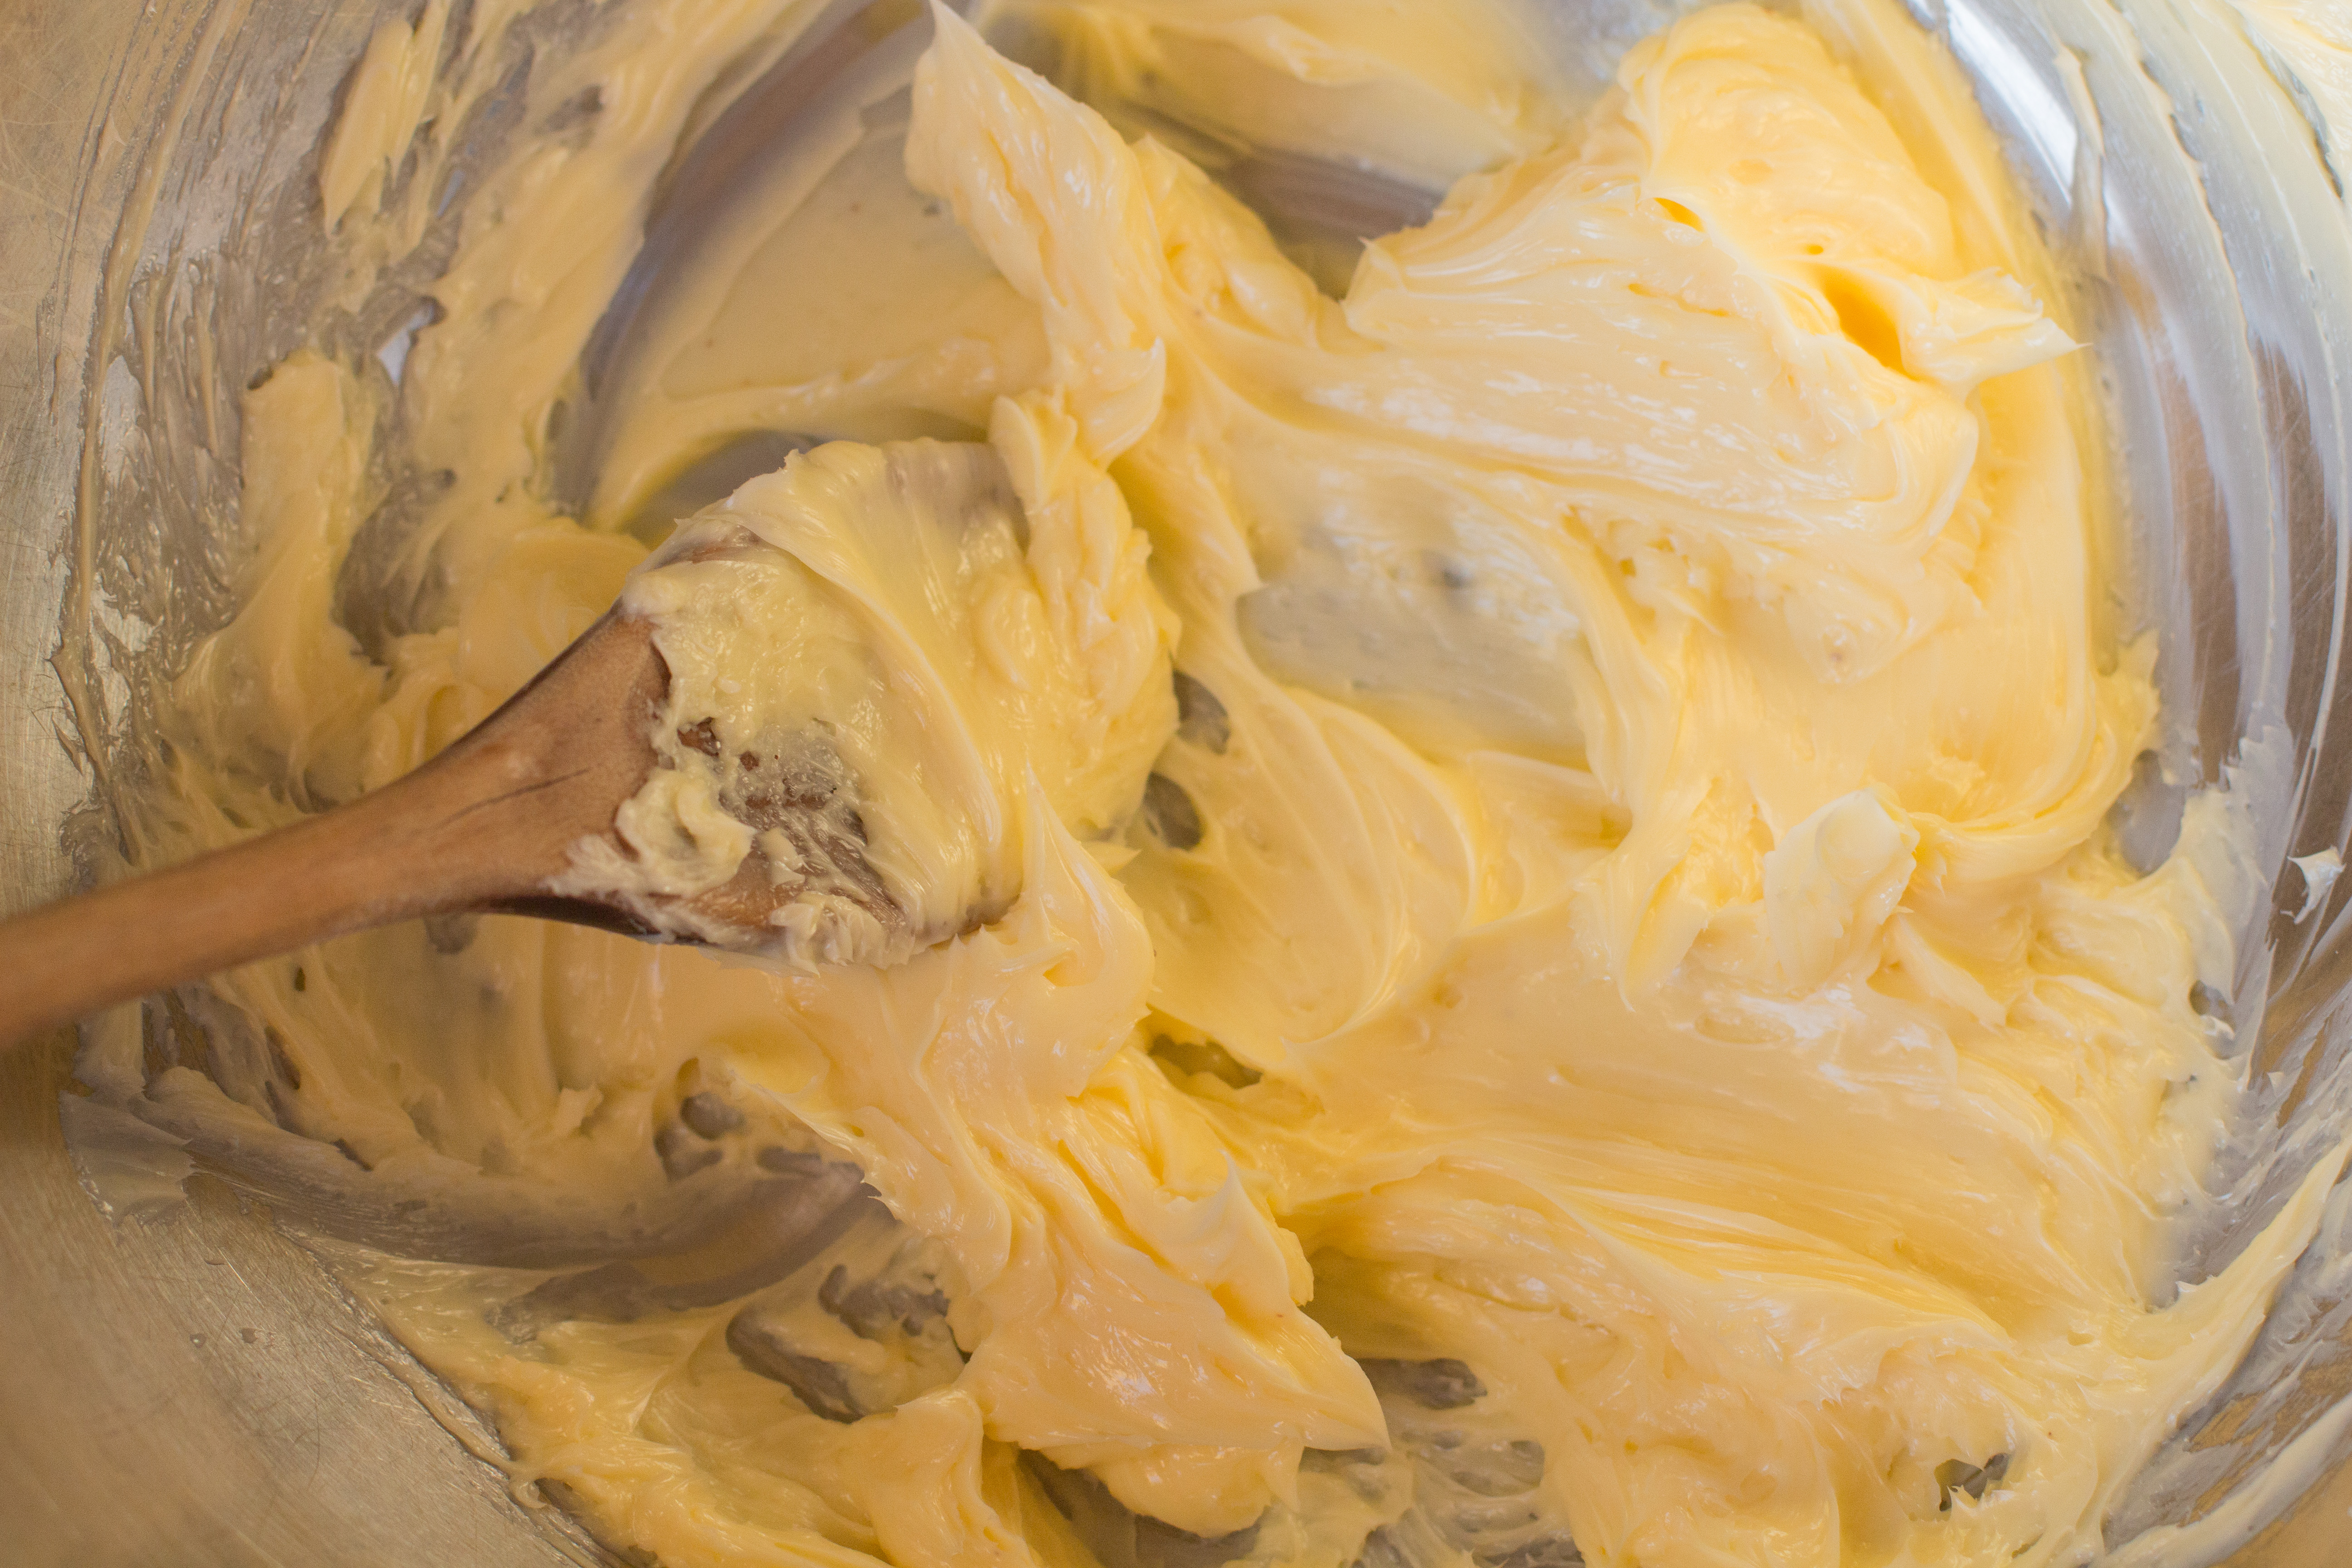
- The prepared dough that you pat into the pan should be light and crumbly; like wet sand. Not sticky or clumpy at all.
- Pat the dough evenly into the pan to ensure even baking. It’s pretty much WYSIWYG. If it’s not smooth and even going in, it will not fix itself during baking. The finished appearance will suffer, and remember we eat with our eyes first.
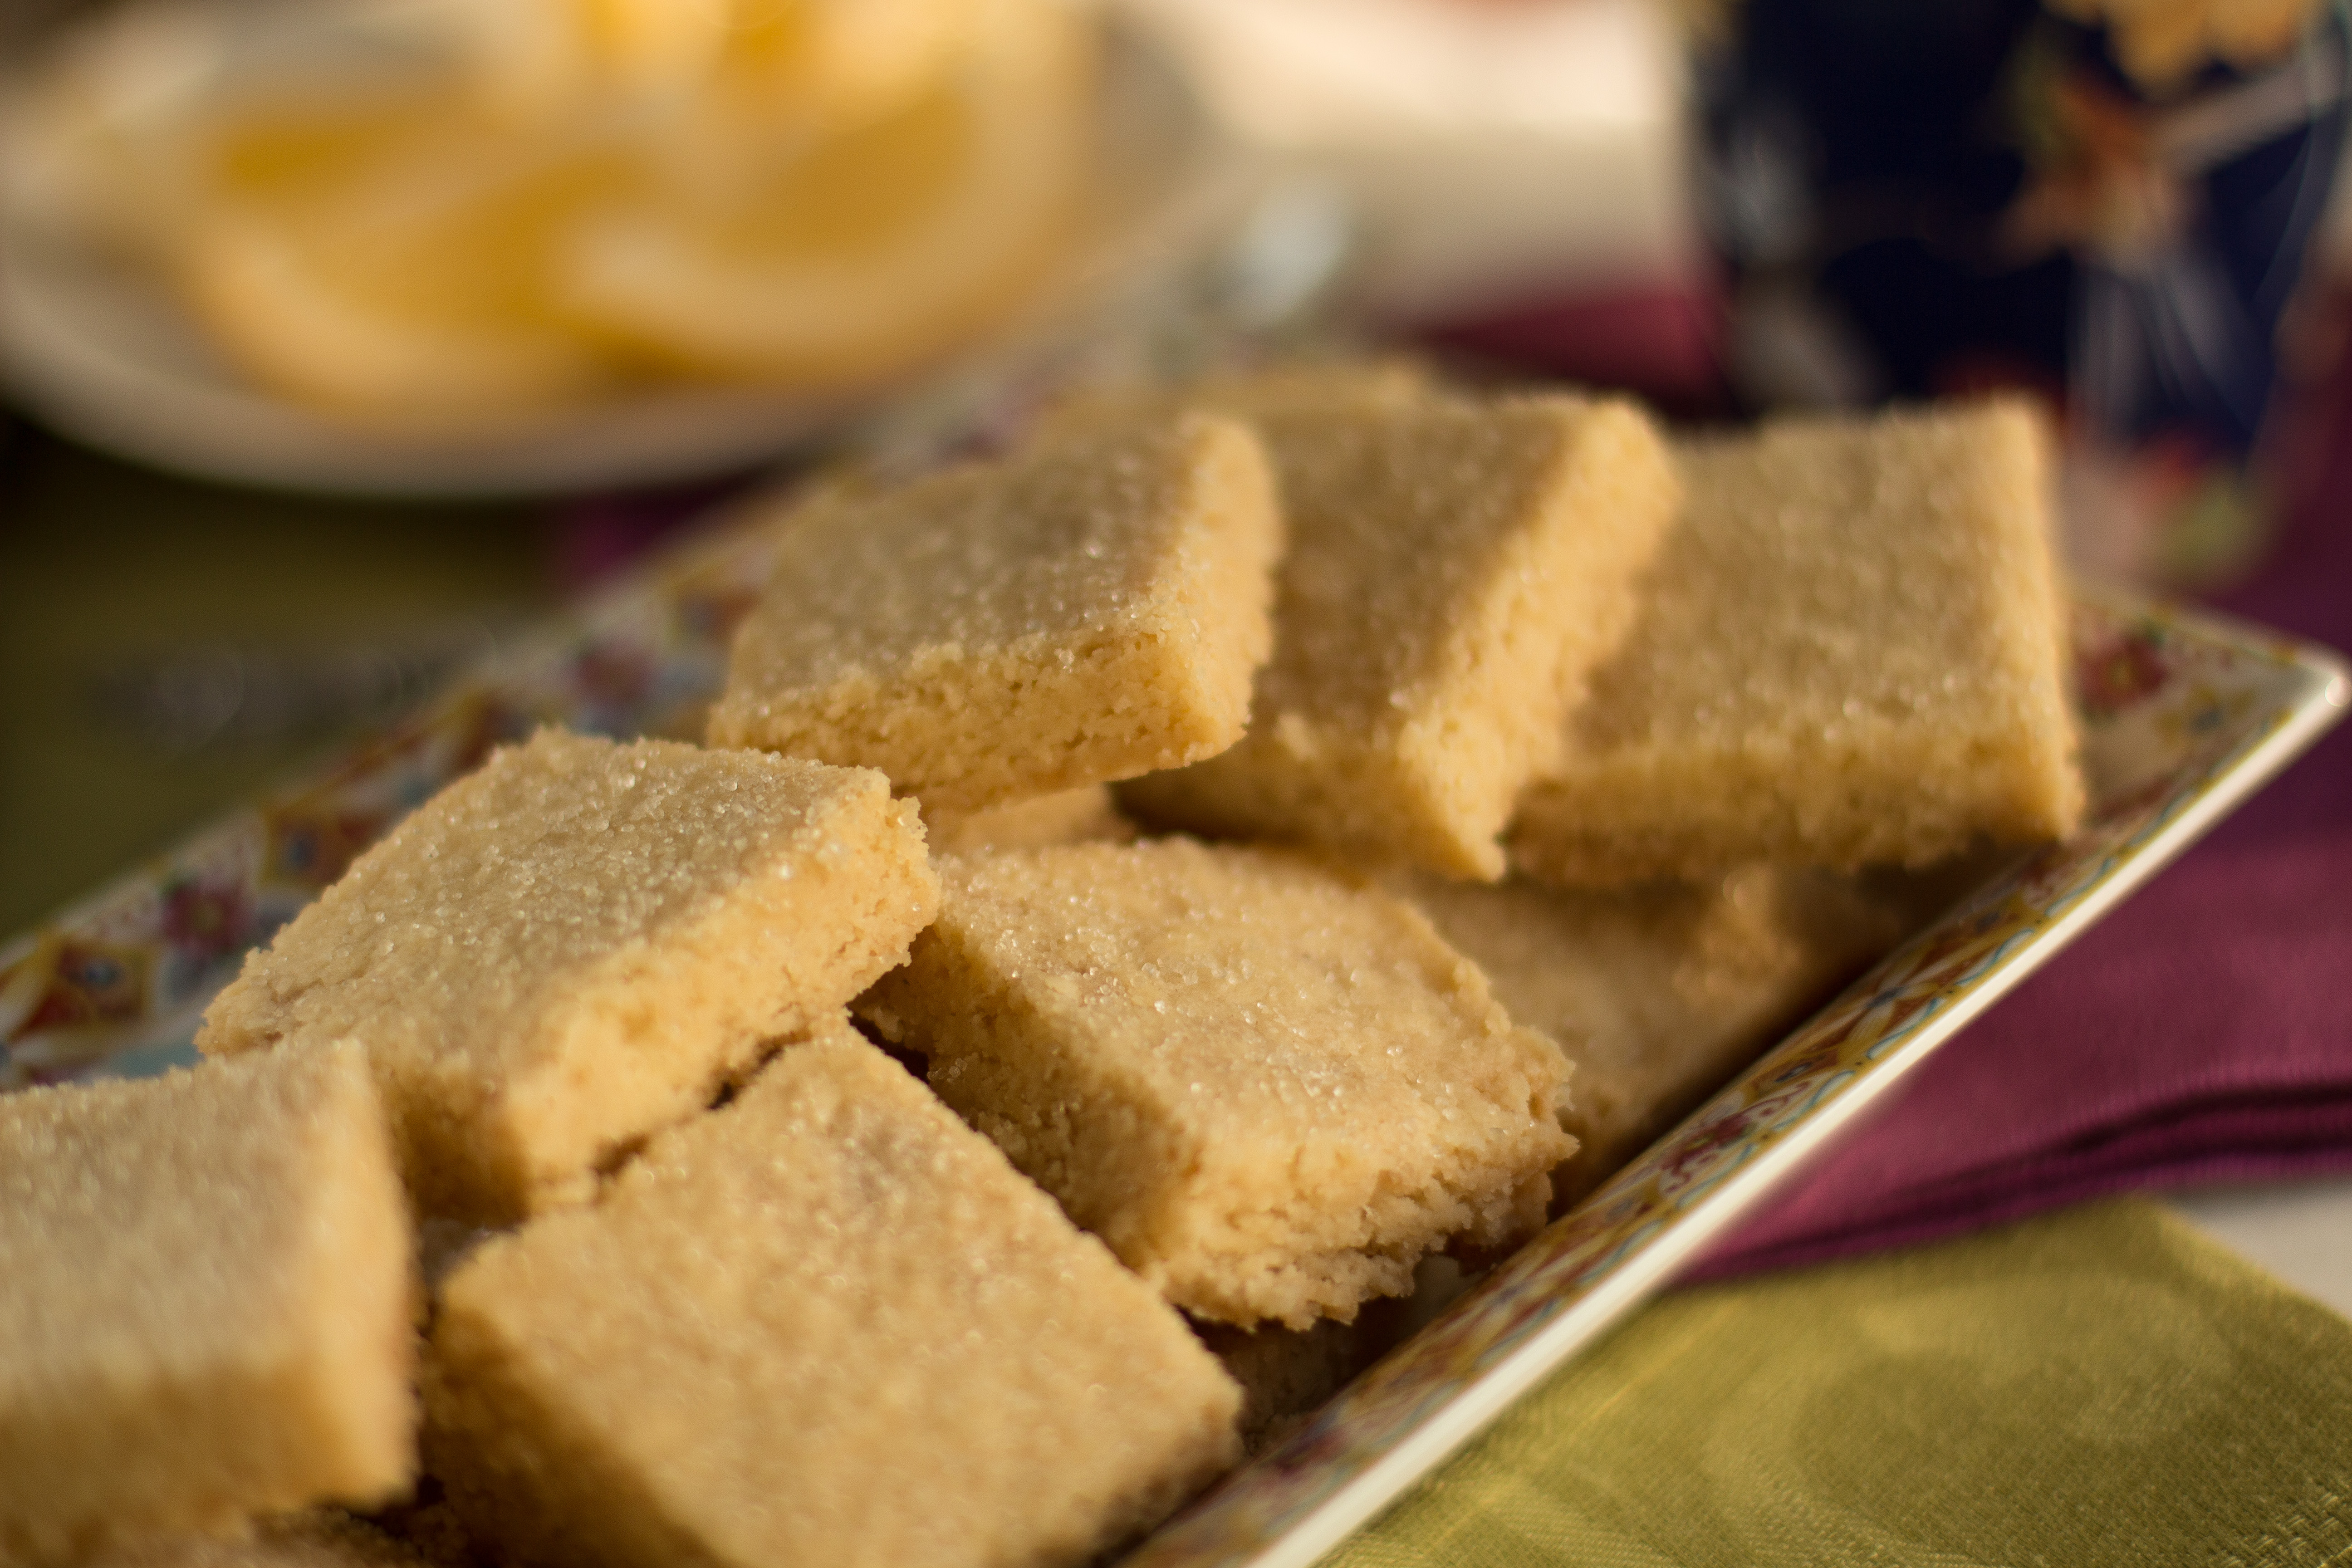
- Check the progress during the last 5 – 10 minutes of the initial baking to prevent over-browning. Shortbread should be pale in color with little to no browning. As ovens vary, yours my take a few minutes – more or less – to reach the desired color.
- Shortbread will keep in an airtight container for several days, up to a couple of weeks if well wrapped. Perfect for gifts or keeping on hand for an anytime treat.
“Classic” Shortbread
Adapted through trial and error from numerous sources. Chief amongst others: Book of Great Cookies by M. Heatter; Cookies and Brownies by A. Medrich; Tartine by E. Prueitt & C. Robertson; Great Cookies by C. Walter
For 9” x 9” pan
Ingredients:
1 cup unsalted European-Style butter, very soft (Straus is my favorite for taste and its 85% butter-fat)
1/4 teaspoon finely ground sea salt
1/2 cup granulated sugar
1-1 /2 cups all-purpose flour
1/ 2 cup cornstarch
Additional granulated sugar for finishing, about 1 tablespoon sprinkled evenly, all over the top.
Preparation:
Center rack in oven. Preheat the oven to “Convection Setting” 300*F. Line the pan with foil by using a 12” x 14” sheet of foil and wrap it snugly over the inverted pan. Remove wrap from outside the pan and insert it into the inside of the pan, taking care to keep it smooth and tight along the edges. Set aside.
Place flour and cornstarch in a medium bowl. Whisk gently to combine well.
Place the butter in a large mixing bowl. The butter must be very soft—the consistency of mayonnaise or whipped cream. Add the salt to the butter and mix well with a wooden spoon so that it dissolves completely before adding the remaining ingredients.
Add the granulated sugar and mix just until combined. Add the flour + cornstarch mixture all at once and mix until evenly incorporated but dough is still crumbly. Exchanging the wooden spoon for a large rubber spatula will expedite incorporating the dry ingredients and obtaining a crumbly, “wet sand” texture.
Pat gently and evenly into the prepared pan, making sure edges and corners are neat. Do not press down too hard. Smooth top as much as possible.
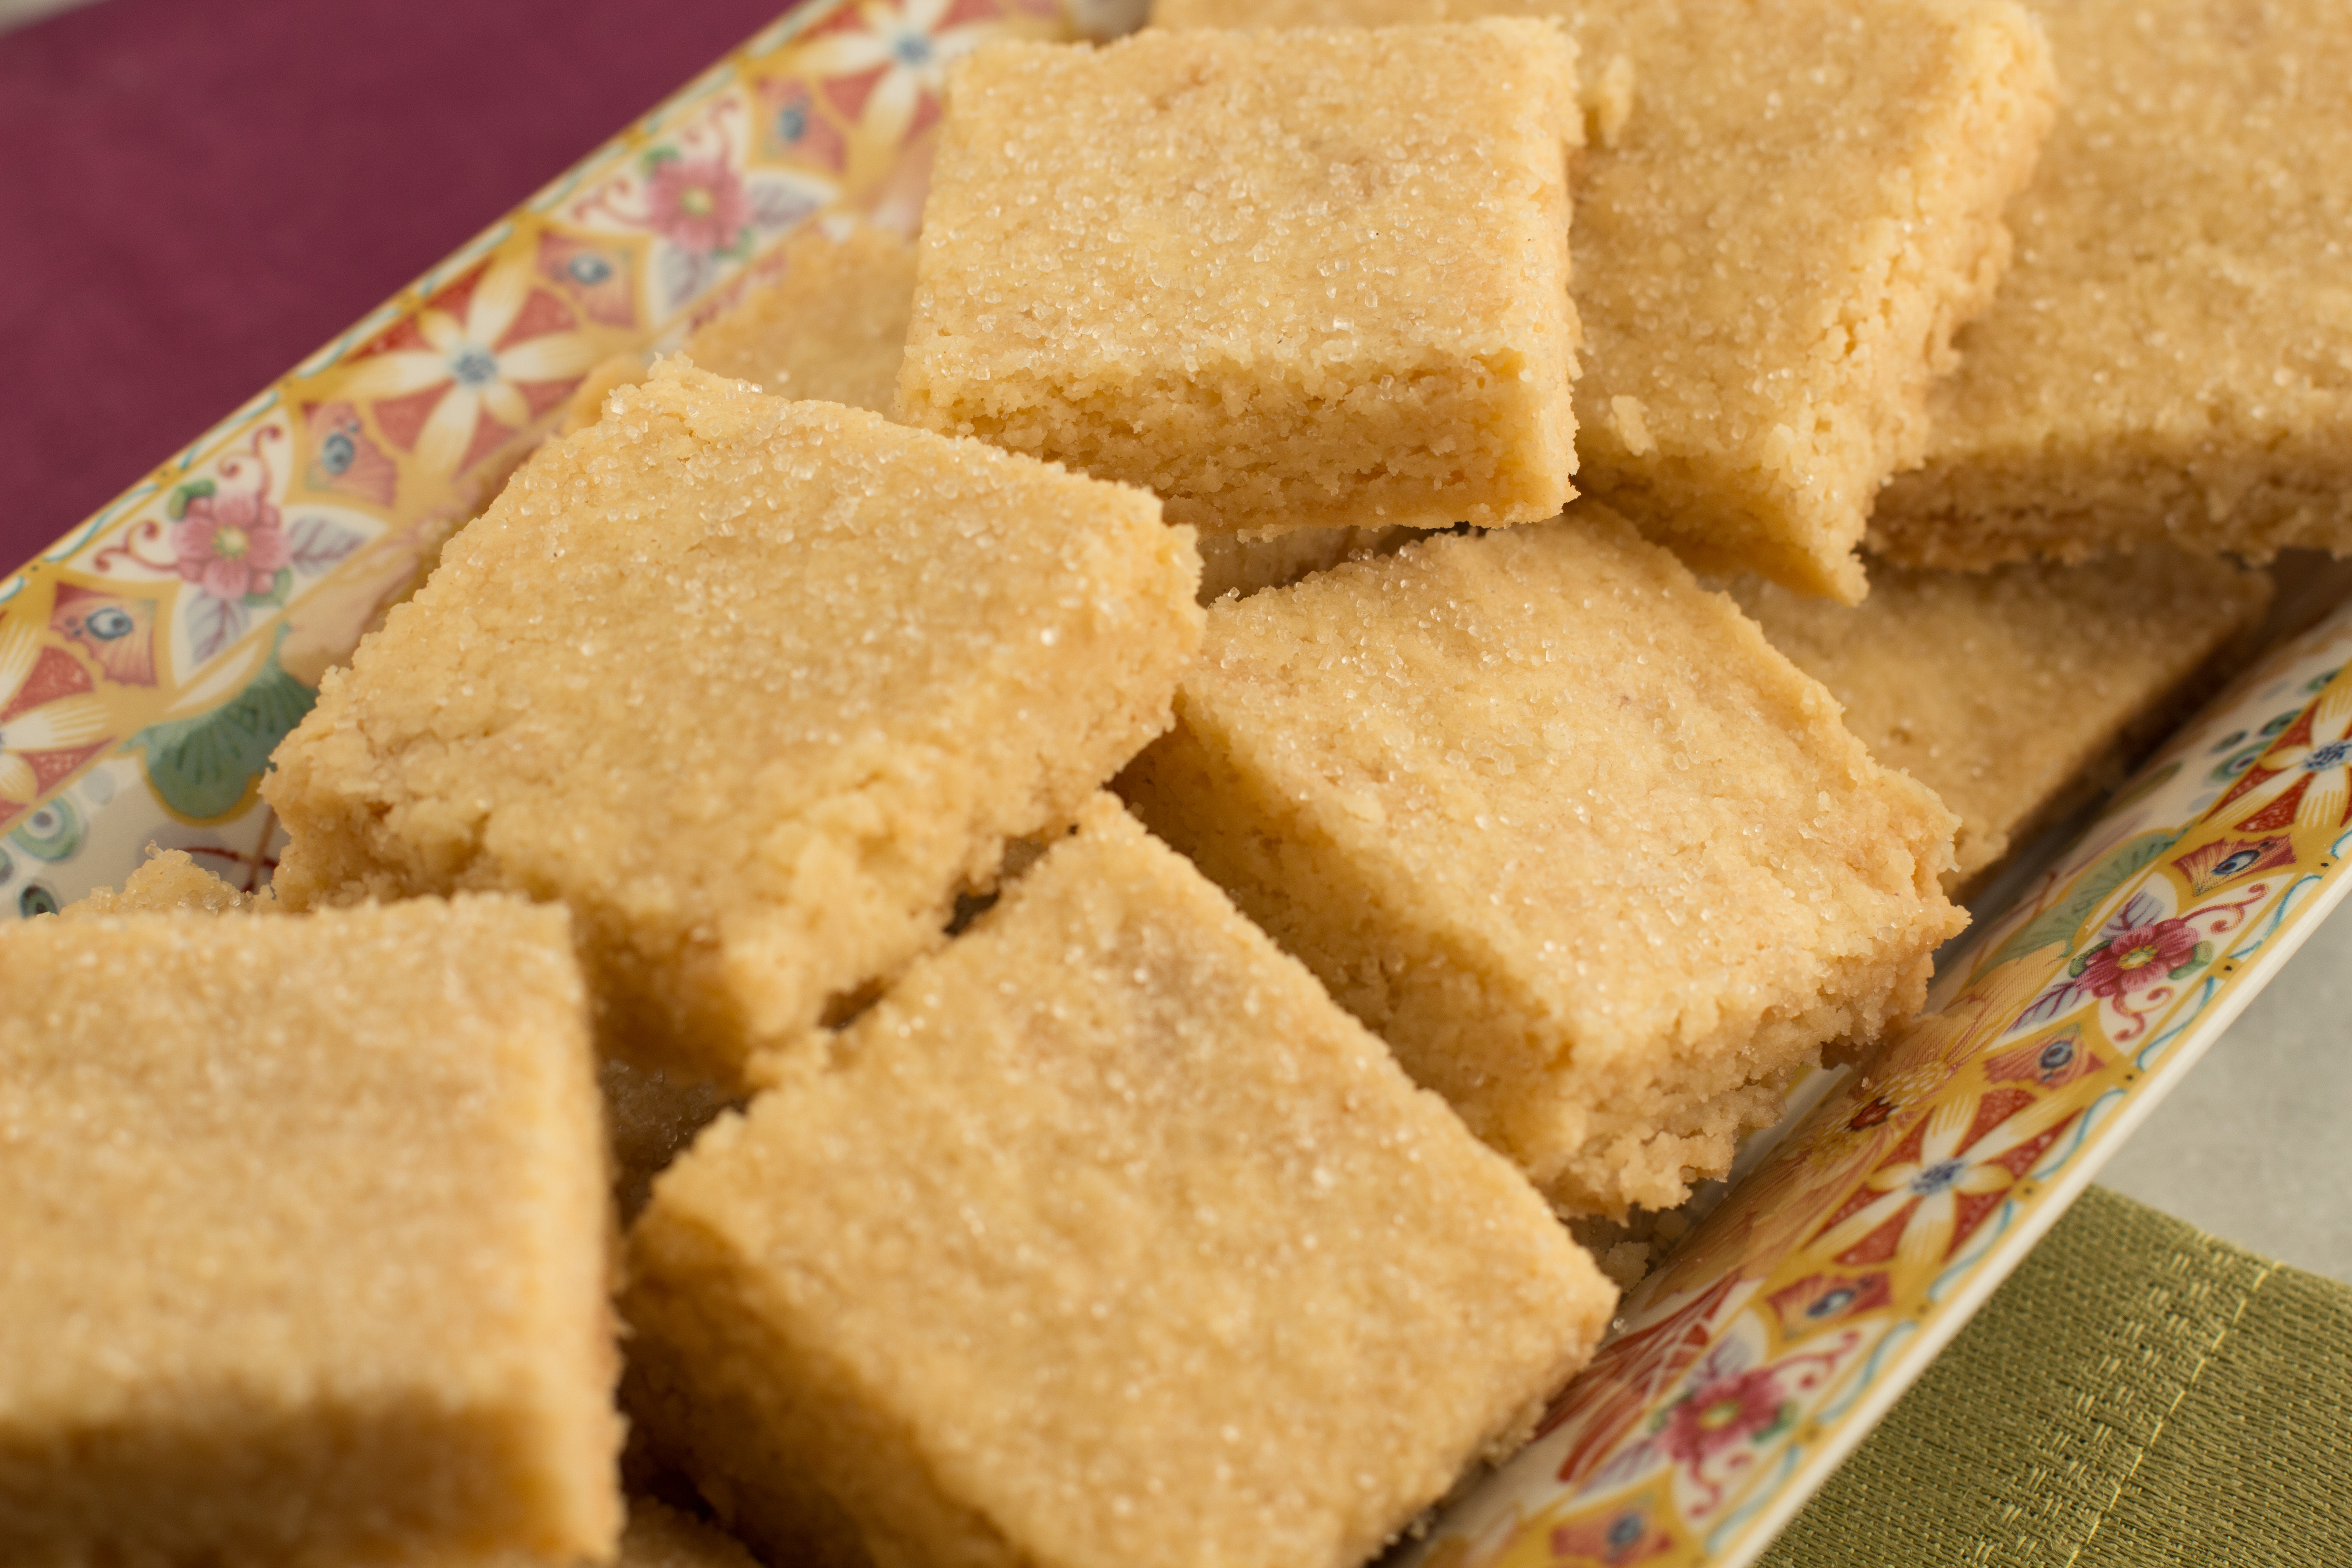
Bake for 45 minutes. After 45 minutes, remove from oven, keeping oven on. Let rest for 5 minutes. Using a metal pastry scraper, cut straight down through the dough at 1-3/4” intervals, making five strips along one side of pan. Give the pan a quarter turn and repeat cutting at 1-3/4” intervals, cutting 25 squares. Sprinkle lightly with granulated sugar, distributing evenly across each square.
Return to oven for 5 minutes. After 5 minutes, remove from oven, keeping oven on. Let rest for 5 minutes. Have a cookie sheet without sides ready. Carefully tip and pull an edge of the foil lining the pan, transferring the shortbread onto the cookie sheet. Using a pastry scrapper, carefully cut through the shortbread squares completely and separate, allowing at least 1 /4” between squares for air circulation. Return to the 300*F oven for 10 minutes for final baking to dry and crisp the shortbread.
After 10 minutes, remove shortbread from oven and cool completely before handling and storing.
Makes 25 pieces, 1-3/4” x 1-3/4” squares.
Variations:
This recipe can accommodate embellishments of nuts, dried currants, candied ginger, finely grated citrus rind, small bits of chocolate, spices and herbs. Be careful to not add too much moisture into the recipe as that will change the texture in a bad way.
Note:
If you prefer thicker shortbread, you may prepare this in an 8” x 8” pan, adjusting the initial baking time slightly to ensure the center is fully cooked.

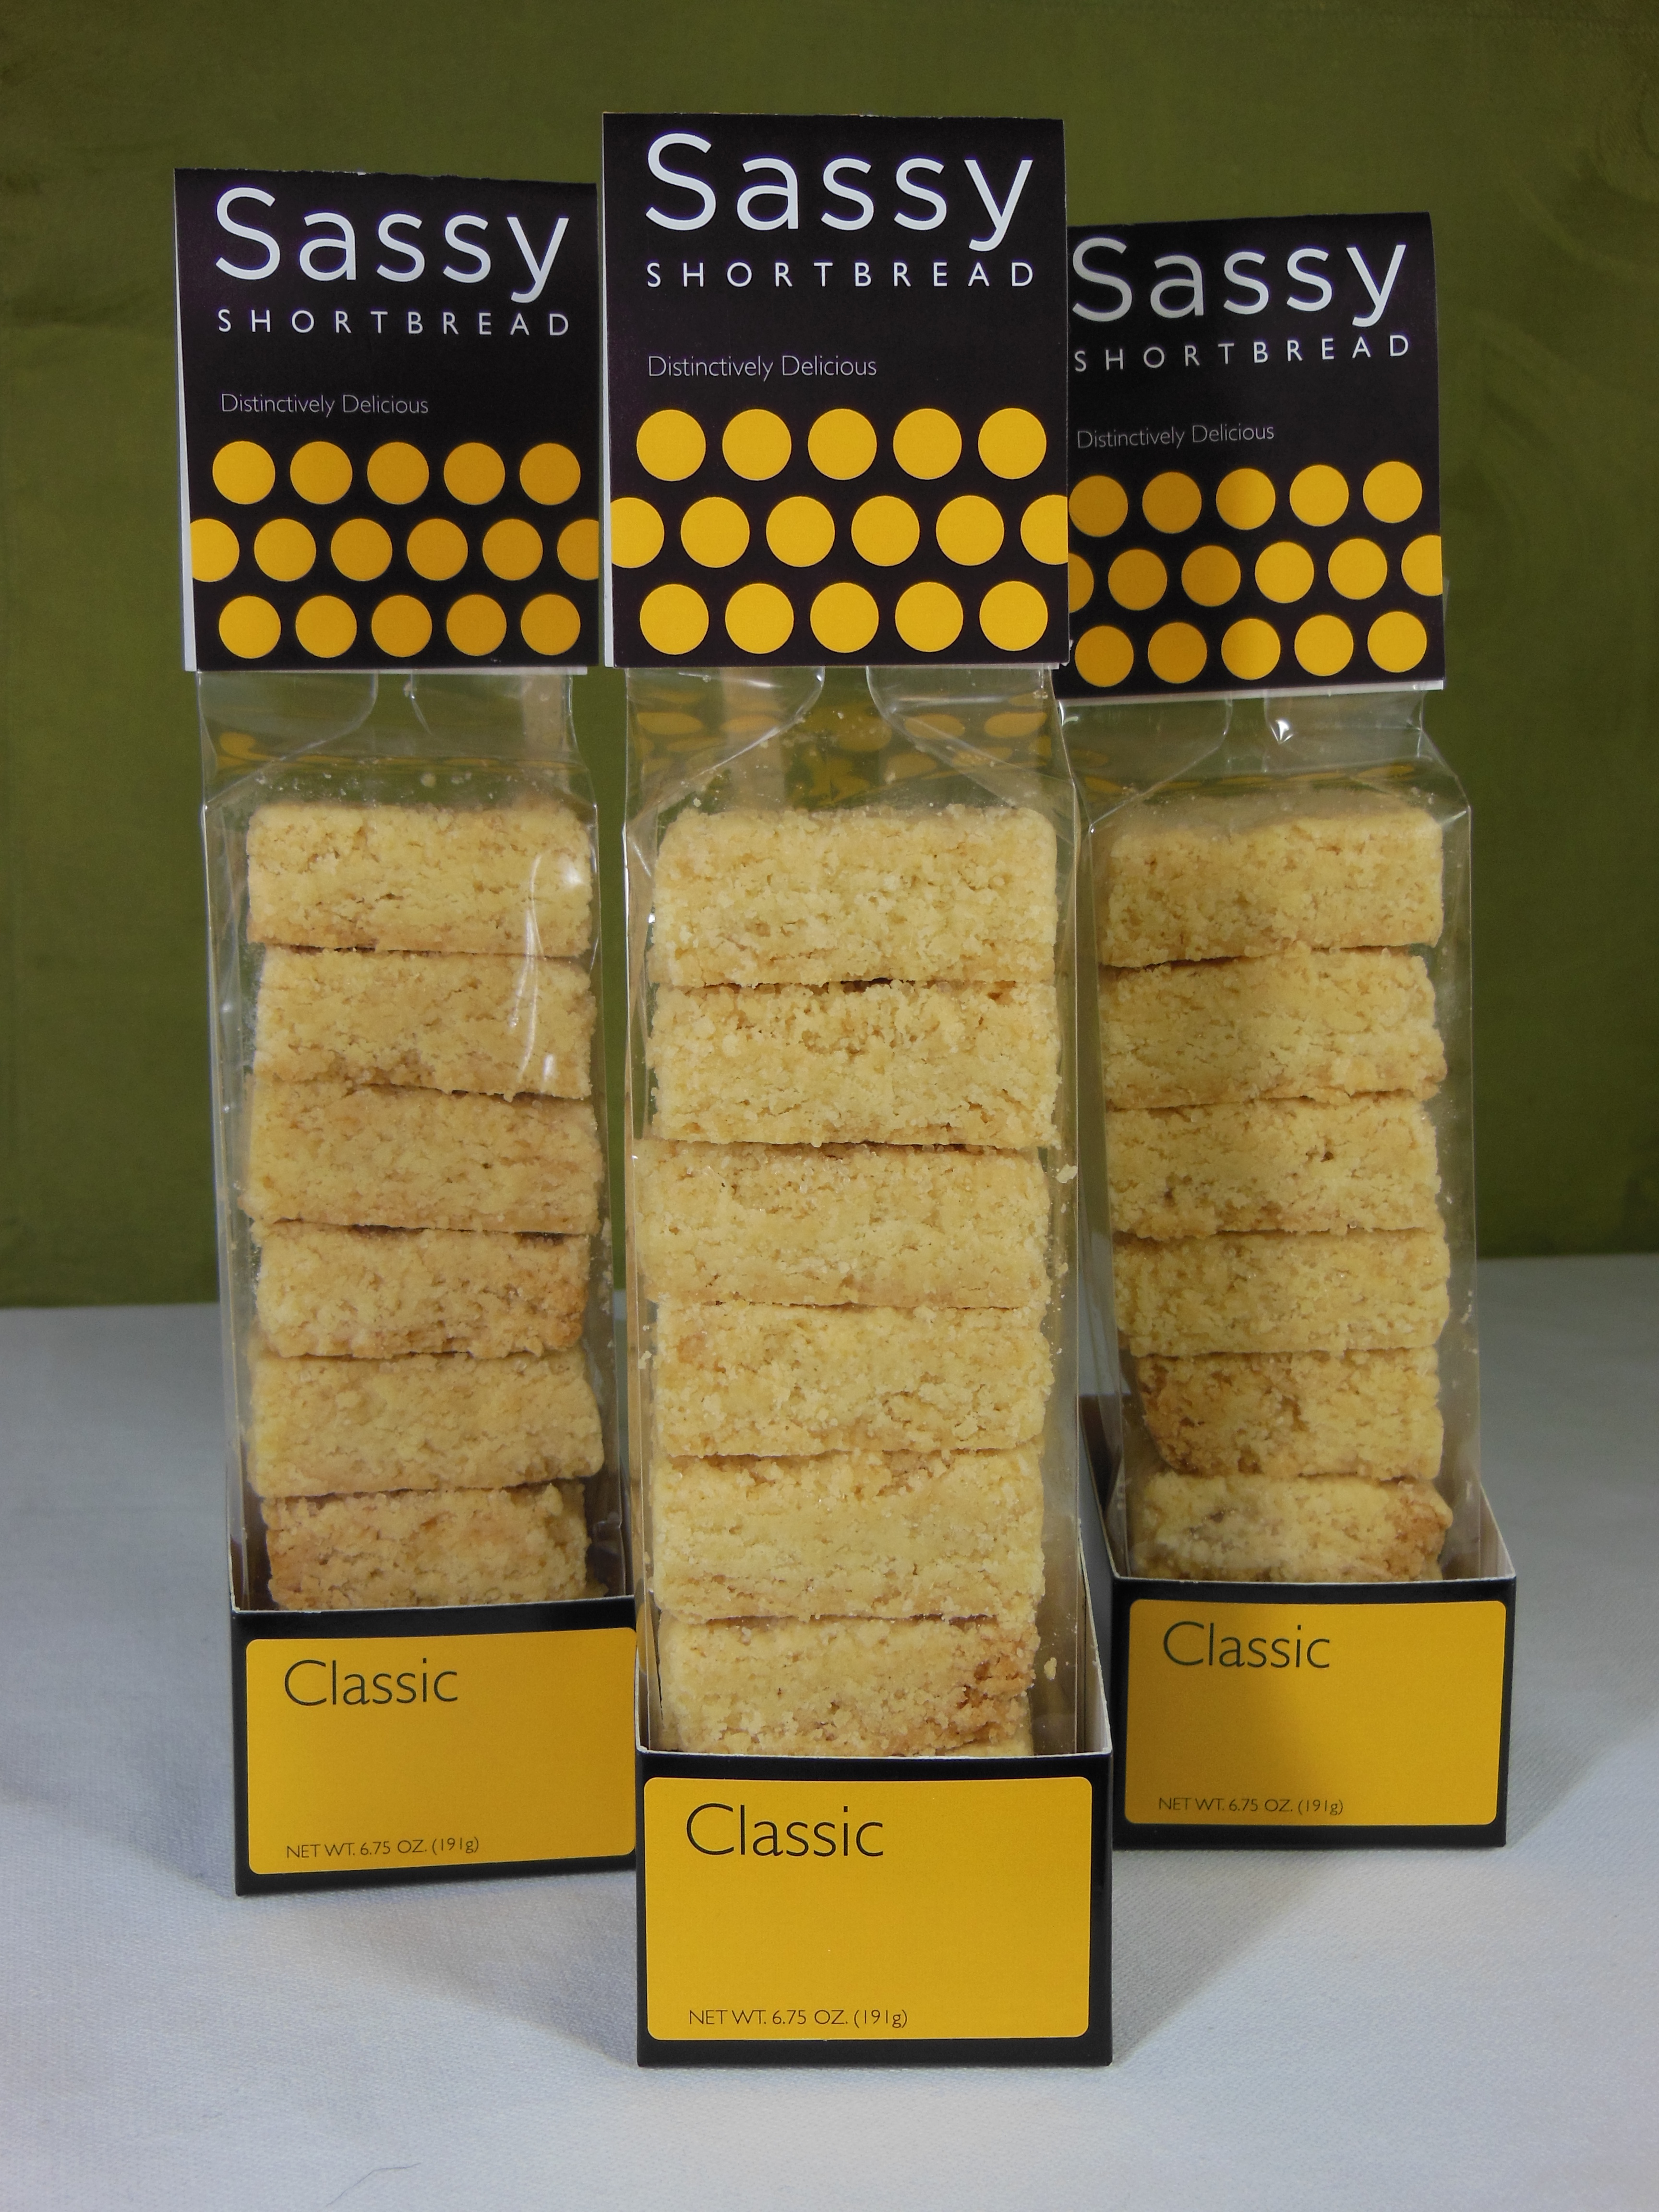
- Sassy Shortbread “Classic”. The featured recipe of this post.
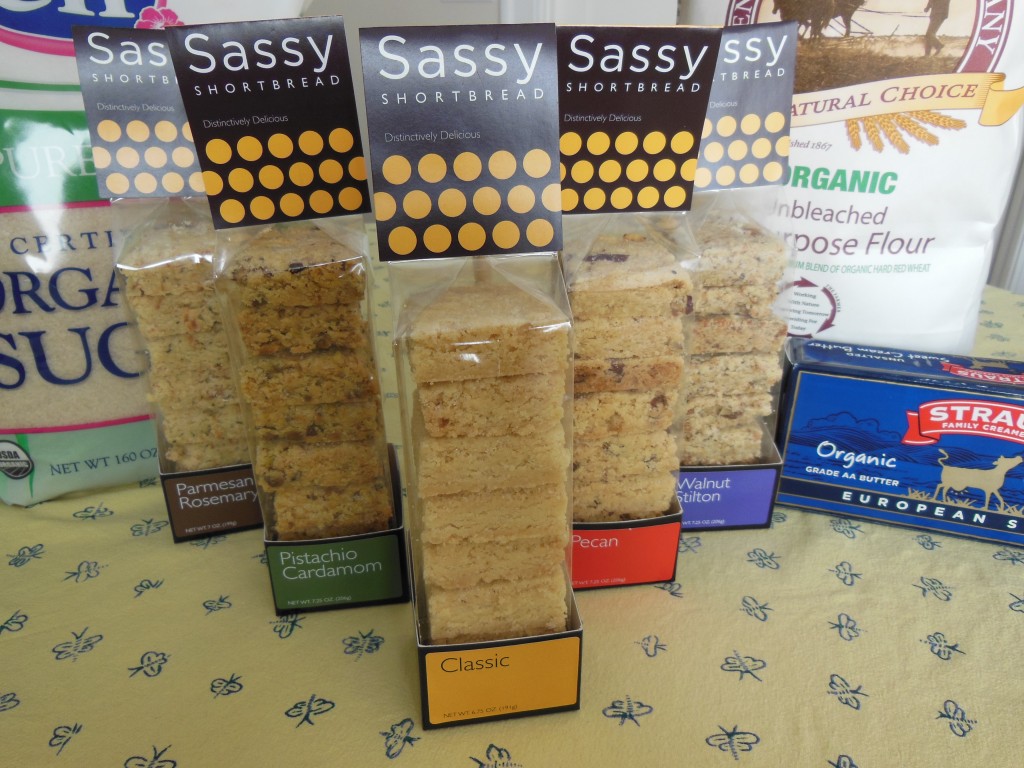 The Sassy Shortbread line — featuring its primary ingredients

This looks absolutely delicious! Would love to try it!
John
Thanks John. Let me know how it works out for you, or if you have any questions. Enjoy!
This is the best shortbread recipe…ever