Could Nanaimo Bars be having a “moment”?
If you are not familiar with this treat originating from the British Columbia city bearing its name, it’s not too soon to start thanking me now. These no-oven-required sweet treats have been a family favorite for years. Decades really. As in since Elvis left the building-decades ago!
I was delighted to see them recently featured here, and it’s my hope will result in widening their popularity.
As the story goes, these dessert bars hail from about mid-20th Century. There are varying claims as to who first published the recipe, however there in no dispute on how satisfying they are when a sweet tooth beckons.
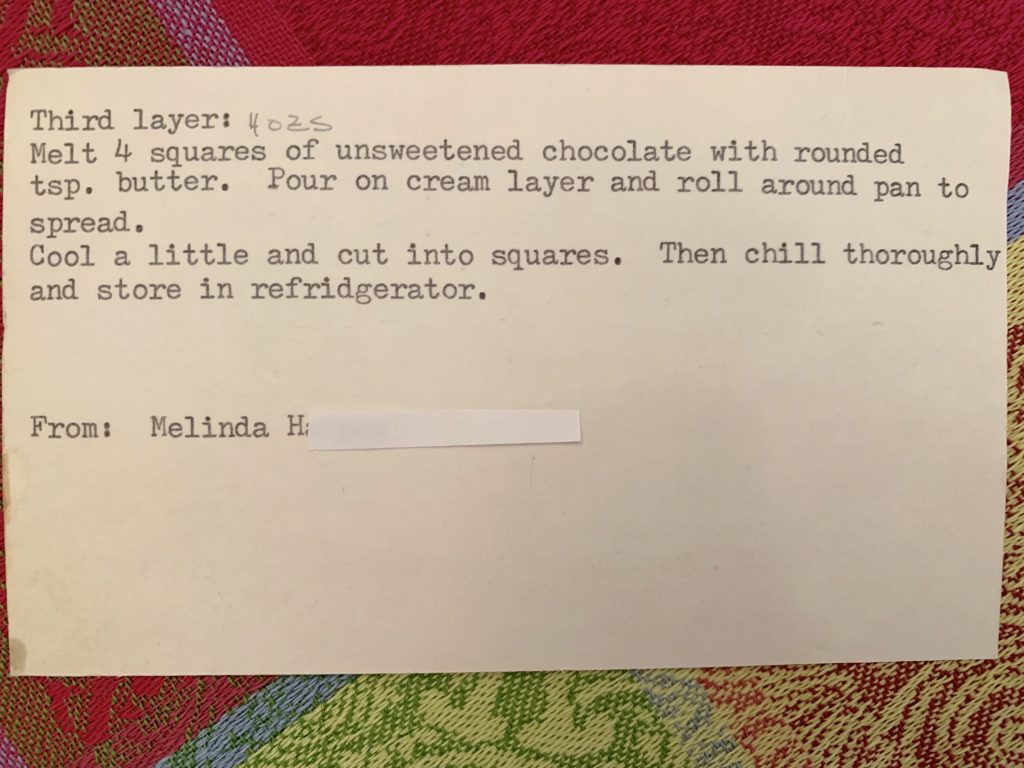
I was introduced to these delights whilst in college. My friend Melinda hailed from Vancouver, B.C., and she both gifted me with a plateful and her recipe. I’ve adapted it over the years and offer up a few suggestions to ensure they come out looking as terrific as they taste.

Now, “Why?” you ask is the recipe so long if it’s supposed to be an easy, no-bake bar cookie? Well, as always, the devil is in the details if you want to present your Nanaimo Bars neatly cut, chocolate intact, with clean edges.
You can see the original recipe was light on the particulars for each step. Experienced cooks and bakers will likely know the importance of firmly patting the base, keeping each layer smooth as possible, how to cut through firm chocolate without it cracking to bit, etc. But just in case this is your first time out, you’ve got the details here to produce Nanaimo Bars that look as good as they taste.
Nanaimo Bars
Adapted from Melinda Harper
INGREDIENTS
For the base:
- 1/ 2 cup unsalted butter
- 1/ 2 cup granulated sugar
- 1/ 3 cup cocoa powder
- 1 large egg
- 1 cup shredded coconut, unsweetened
- 2/ 3 cup walnuts, chopped medium
- 1 teaspoon vanilla extract
- 2 cups graham cracker crumbs
For the filling:
- 1/ 2 cup unsalted butter, softened
- 2 cups powdered (confectioner’s) sugar
- 2 tablespoons milk
- 1 teaspoon vanilla extract
For the topping:
- 4 ounces unsweetened chocolate, chopped or broken into small pieces
INSTRUCTIONS
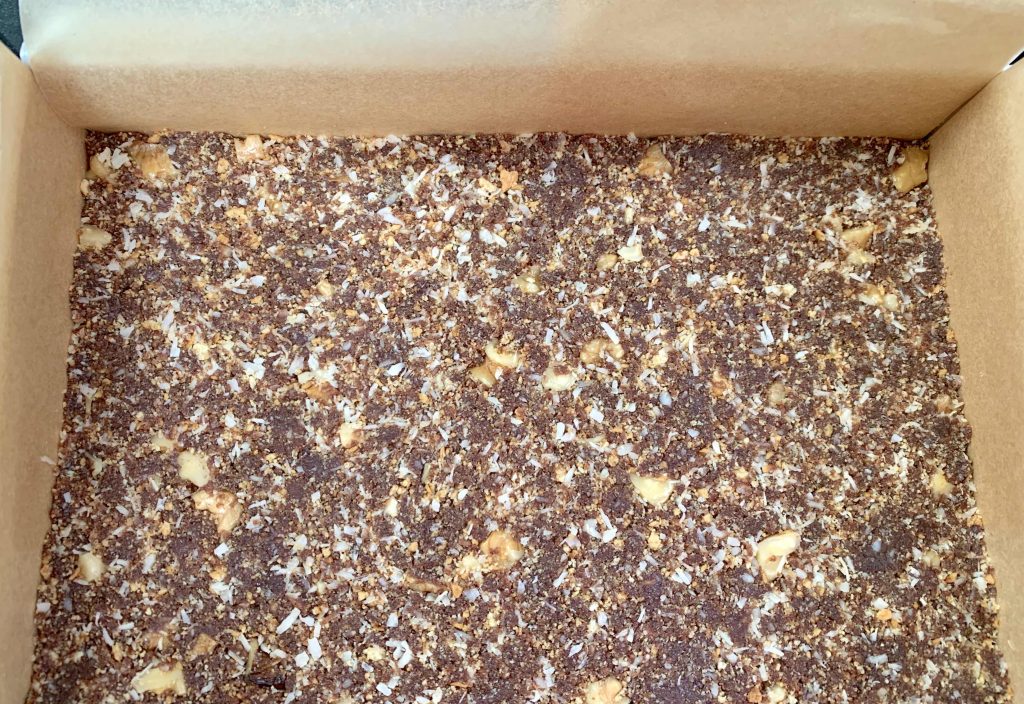
Line a 9-inch square pan by creating a sling of two lengths of parchment paper 9-inches wide by 14-inches long placed crosswise from each other. Press and crease the parchment paper into the bottom edges of the pan to help keep in place.
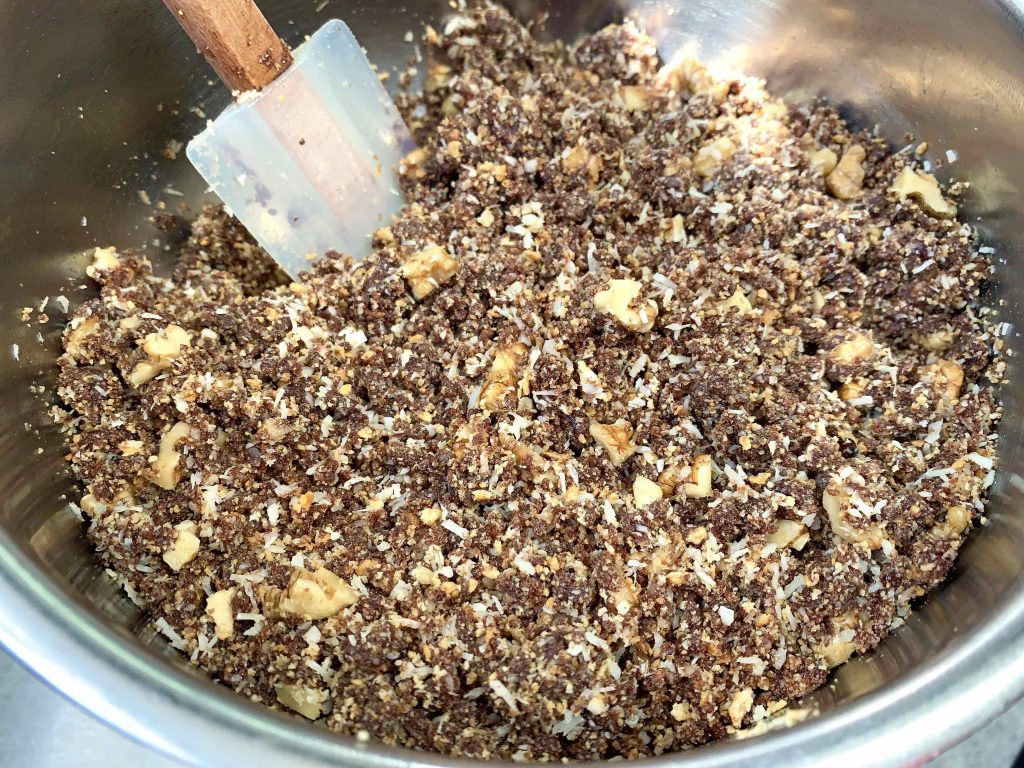
Place the graham cracker crumbs, shredded coconut and chopped walnuts in a large mixing bowl. Stir to mix. Set aside. [I prefer to blitz up whole graham crackers in the food processor to make the crumbs. I think they are fresher and taste better than buying prepared crumbs; and I can select organic brands.]
In the top of a double-boiler or other heat-proof bowl, gently scramble the egg so the yolk and white are mixed. Stir in the sugar, cocoa, and vanilla; then plop in the butter. Place over a pan of barely simmering water, making sure the bottom of the double-boiler/bowl does not touch the water. Stir constantly until the butter melts and the mixture thickens to resemble a thin custard.
Add the chocolate custard mixture to the crumb mixture and stir to completely incorporate the wet and dry ingredients. Transfer the crumble mix into the prepared pan and pack it very firmly and evenly into the pan. Make sure the edges and corners are even for the most attractive results. Set Aside.
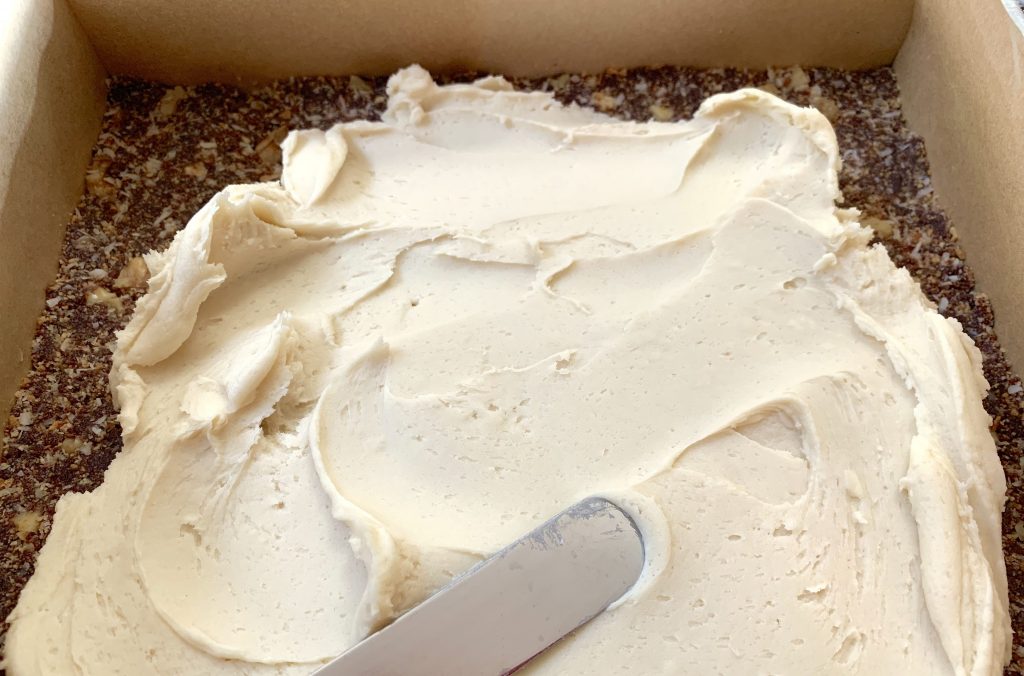
Make the filling layer by creaming the butter in a medium bowl using a hand mixer. Add the powdered sugar in 3 – 4 additions on low speed (to prevent a cloud of sugar bursting all over). Add the milk and vanilla and beat until smooth and spreadable.
Spread the filling evenly over the crumb mixture in the pan. Try to make it as smooth as possible. A small, offset spatula is ideal for this task.
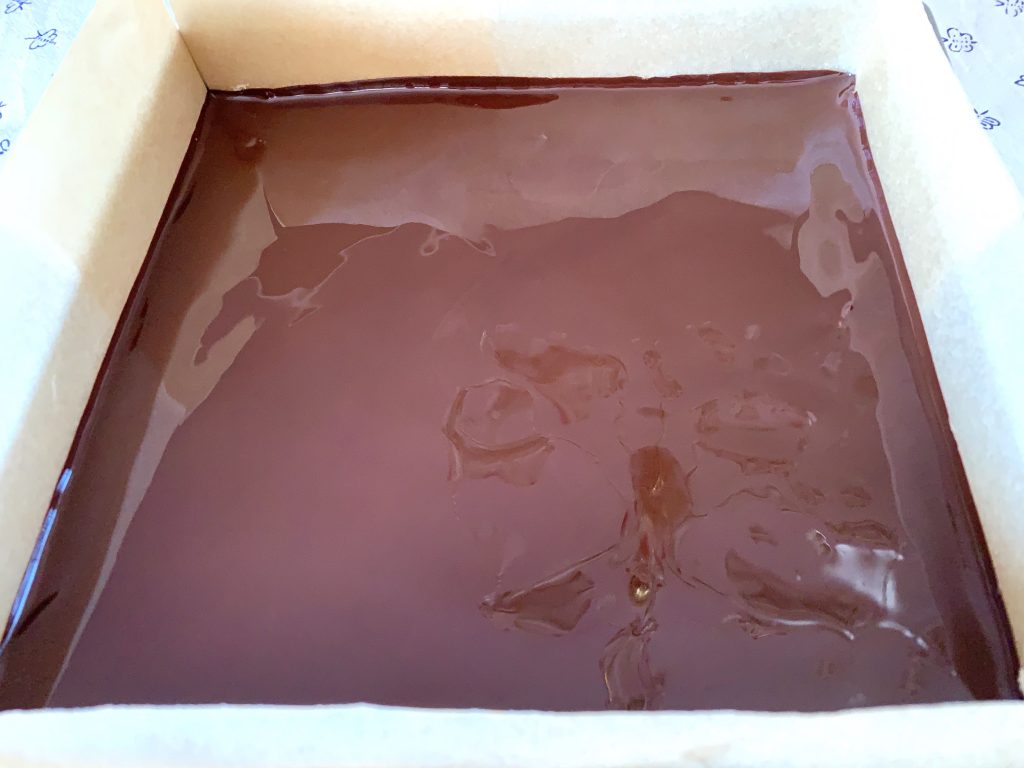
Melt the unsweetened chocolate. I’m old school and do this by placing small-ish pieces in a heatproof bowl over barely simmering water, taking care the bowl doesn’t touch the water (same technique as the crumb mixture). The chocolate can also be melted using a microwave oven, zapping at 15-second intervals and stirring between each to ensure even melting. In either case, take care to not scorch the chocolate nor allow any water to come into contact with it, causing it to “seize” and granulate.
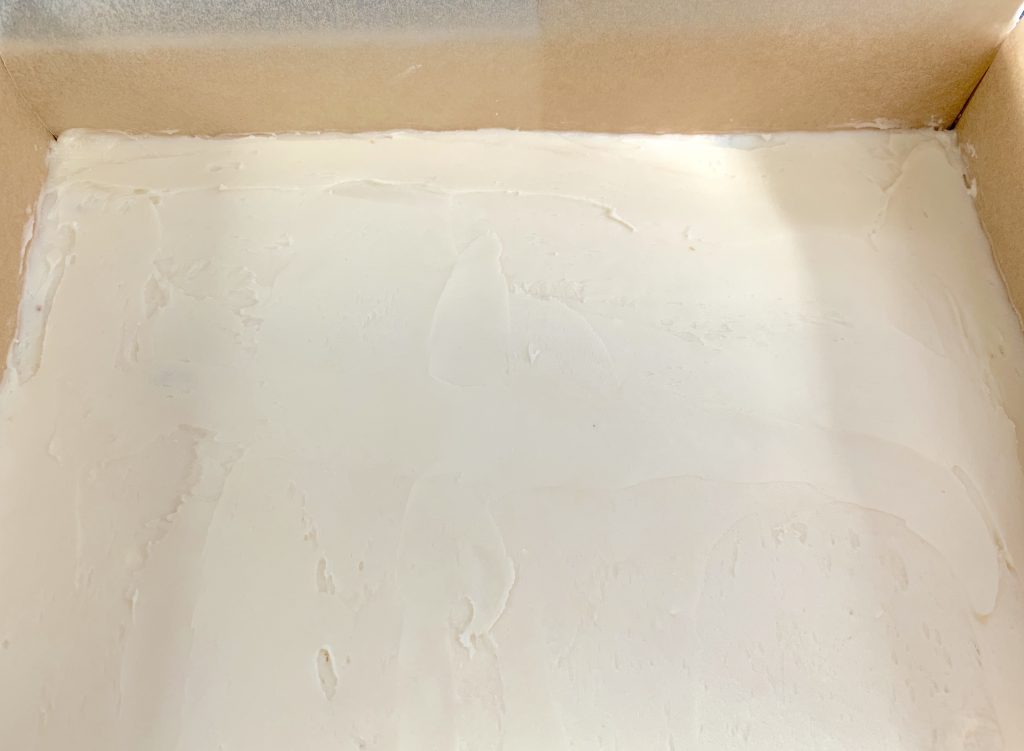
Pour the melted chocolate over the filling layer then tip and tilt the pan slowly to let the chocolate spread evenly across the top. Take care to avoid getting too much chocolate up the sides of the pan beyond the filling.
Set aside to cool slightly, and then place in the refrigerator to set all the layers, at least one hour.
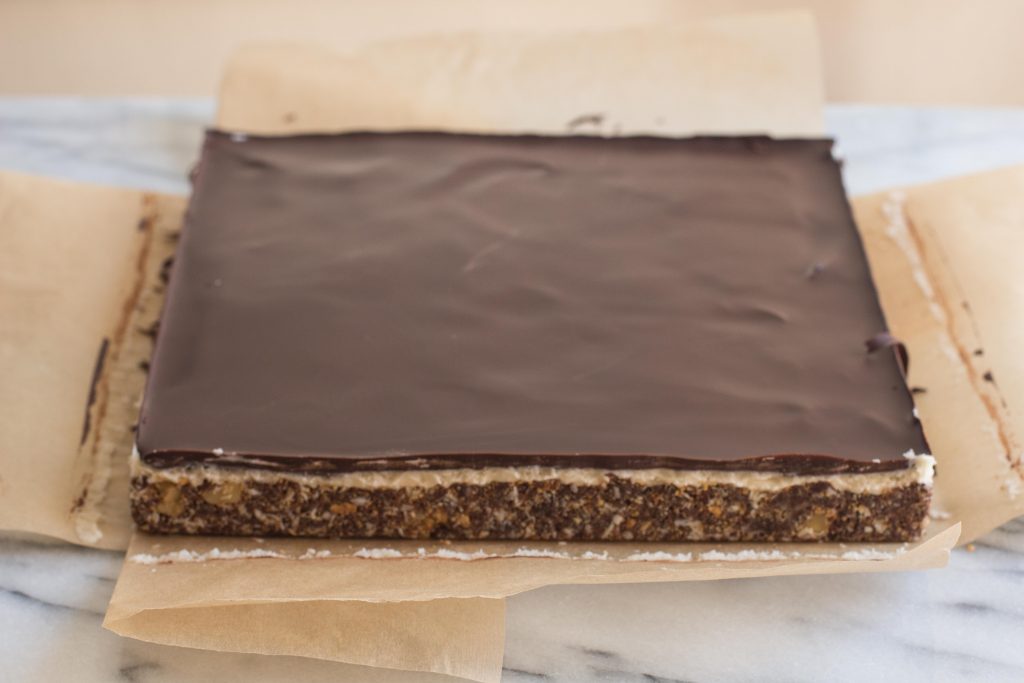
To cut the squares, remove the pan from the refrigerator and remove the dessert out of the pan by grasping the edges of parchment paper on two opposite sides. It may take some jiggling, but it will lift out. Place on a cutting board.
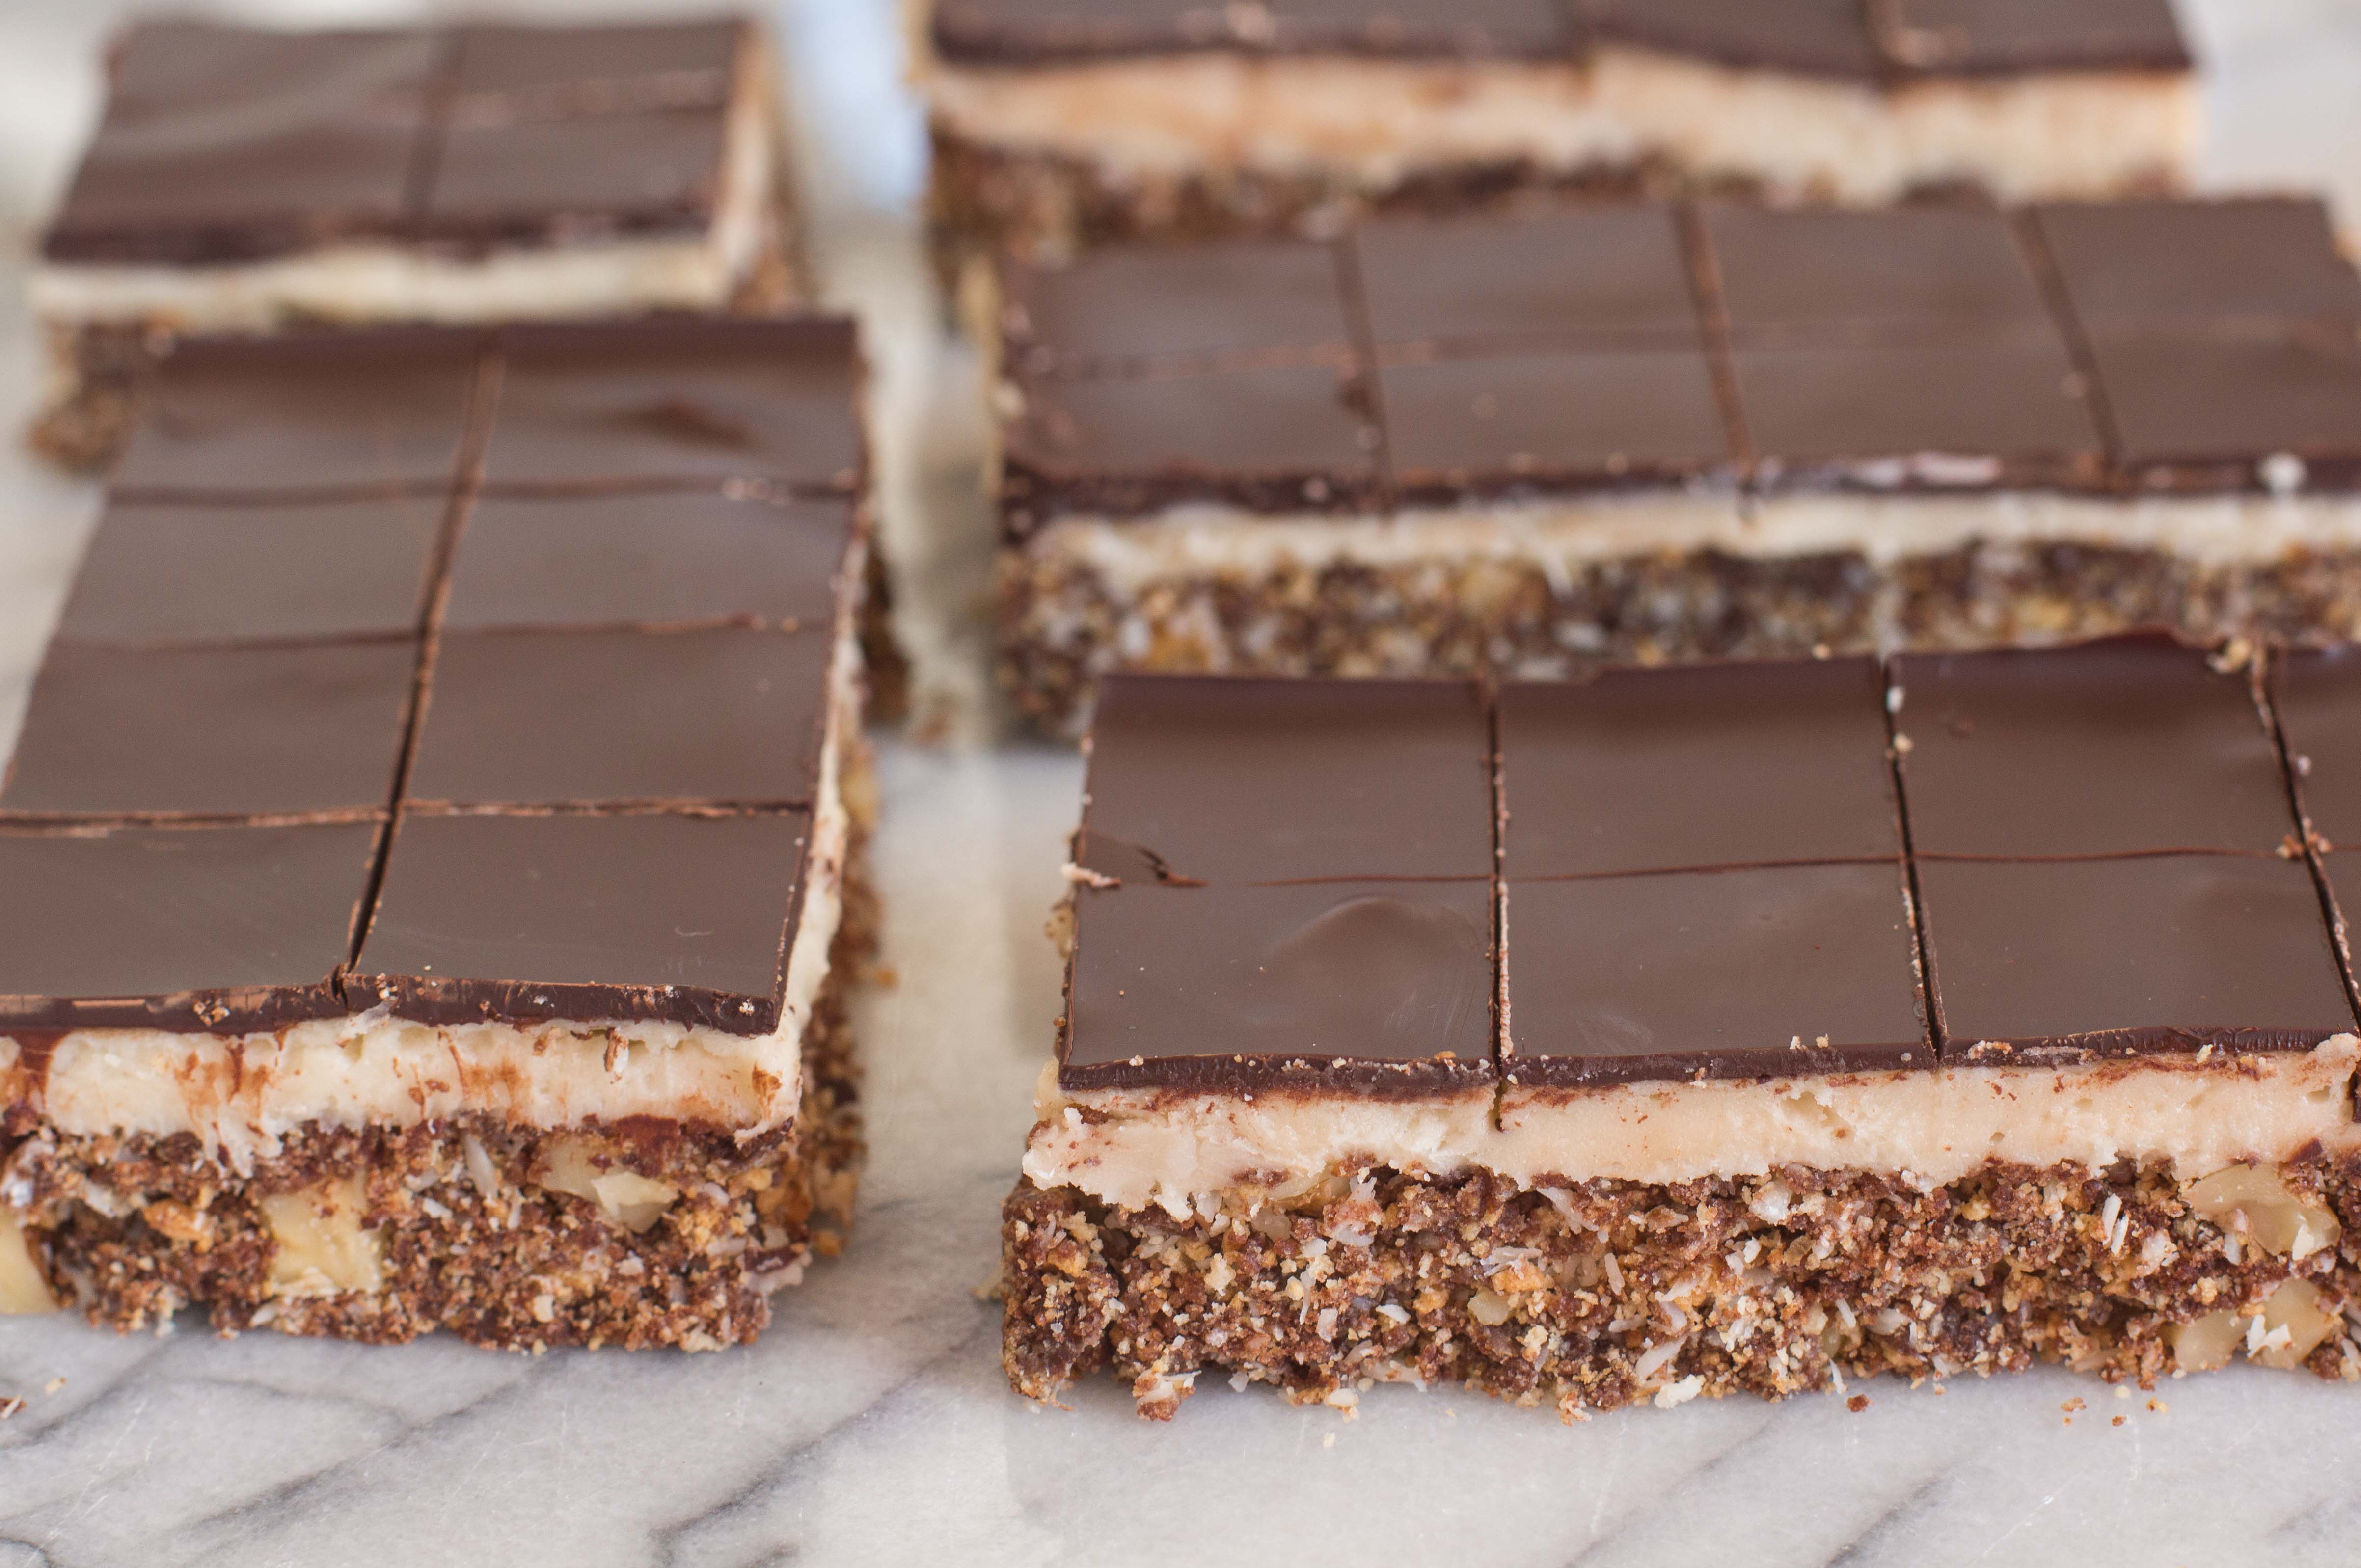
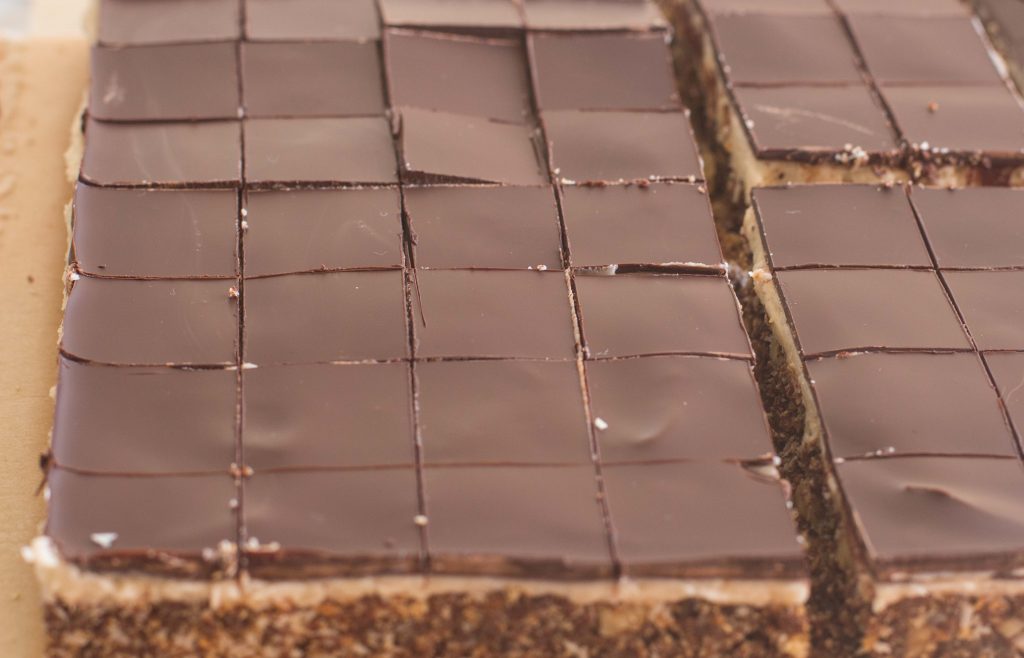
Cut into squares of desired size. I use a centering ruler to measure even-sized bars, but many may believe this is excessive. But do heat a long, thin bladed chef’s style knife in hot water, dry it off, then carefully slice through the chocolate layer at desired intervals. You will feel the knife snap through the chocolate layer, then proceed to complete the cut through the bottom layer. For the cleanest cuts, repeat rinsing the knife in hot water and drying it off as needed.
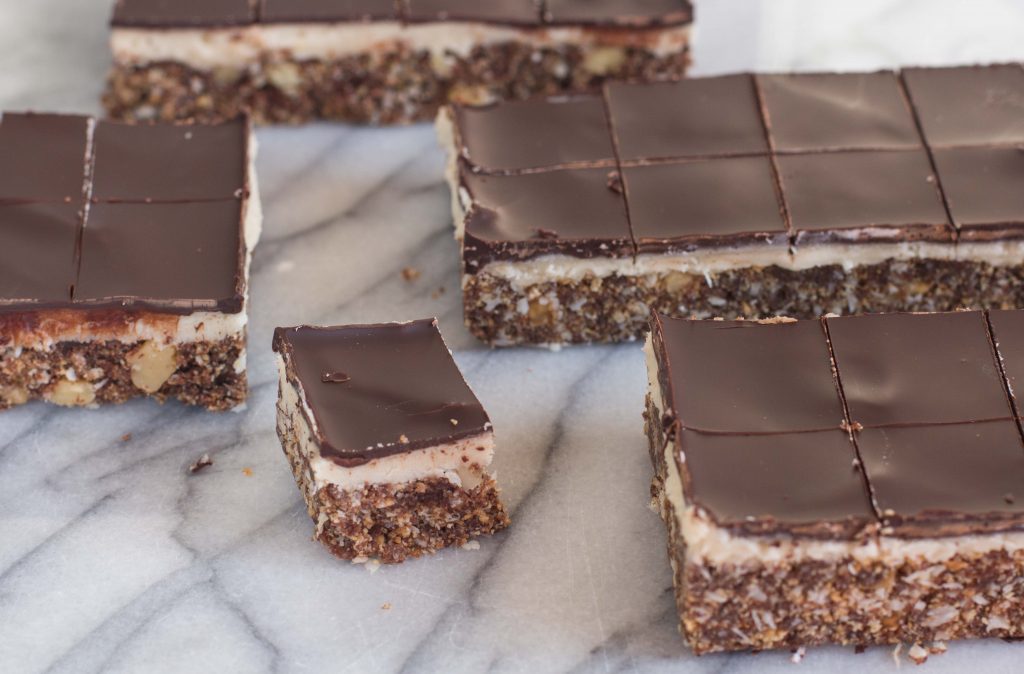
I cut them into about 1-1/ 4” squares, sometimes keep them at 2-1/ 2” x 1-1/4” rectangles (remember that centering ruler?), depending on if I’m serving them with any other sweets. They are rich and sweet, so a little goes a long way.
Store the bars in the refrigerator. I like to have them come to room-temperature before eating.